Ok, now for my real post. As a stay-at-home mom, I have been DYING to flex my creative muscle lately, especially towards decorating my home. Decorating is one of my FAVORITE things to do in this world. In fact, one of my hobbies is sitting down with a cup of tea and browsing through home goods store catalogs or decorating magazines and dream about all the things I would do to my home if only I had a money tree in my backyard. Because unfortunately, it usually entails spending a bunch of money so I have been "fasting" from decorating lately:).
But every once in a while, I'll dream up something I can do that doesn't break the bank. Heck, it barely even chips it. And this happened to me yesterday...
There are certain areas of my home that have been, eh hem, "neglected". Meaning they kind of got ignored when we first moved in, and I haven't really thought much about them since. Too busy I suppose. Anyways, lately I have been working on going back through those "neglected" places in my house to see how I can spruce them up in an affordable way. My dining area was one of these places. See, for months now I have been thinking about painting the backs of my built-in "china hutch", but couldn't decide on what exactly I wanted to do. All I could think of was how I wanted something a tad metallic, but wasn't sure how to make it work. I started brainstorming when I couldn't sleep Monday night and came up with an image in my head that I wasn't sure if it existed. So imagine my surprise when I found THIS online at Hobby Lobby! It was exactly what I was looking for.
So here is what I did with it...
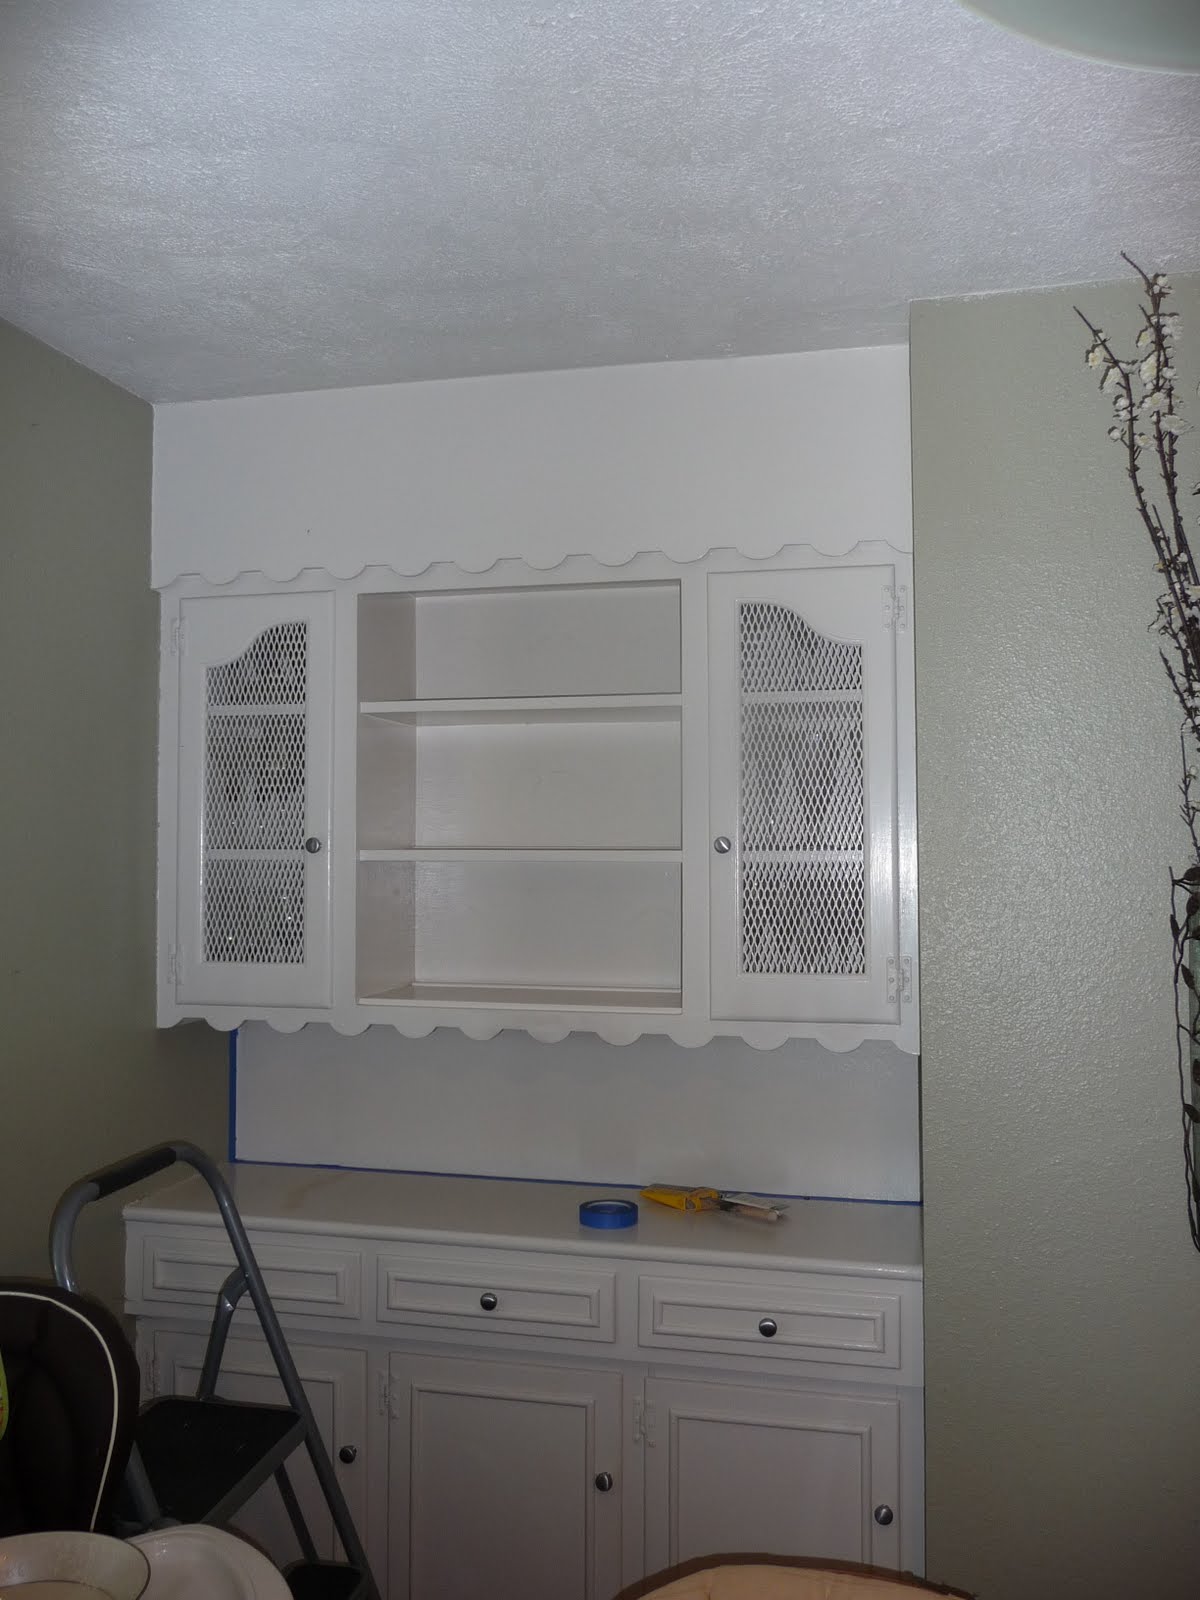
Built-in hutch BEFORE (forgot to take one with all the stuff on it, oops)


BEFORE


AFTER (without decorations)
AFTER up-close (you can really see the shimmer here)
AFTER with decorations! (please excuse the ugly wire cabinet doors. That is another project for another day...)
AFTER up-close. I actually updated some of my decor as well. Hobby Lobby had 50% off mirrors yesterday so I purchased this mirror and used it as a tray to set out some of my pretty glasses that were previously hiding in the cabinet. LOVE!
I fell SO in LOVE with this paint that I started brainstorming other ways I could use it in my house...and then it hit me. There is a spot above the love seat in our living room that I have been looking for a painting or wall art for some time now. But everything I liked was too expensive! So I decided to get crafty. I purchased THIS stencil, also from Hobby Lobby, and painted a pattern on the wall! I love the way it turned out and it was soooo much cheaper than purchasing a painting, or something of that nature.
I am so happy with the way everything turned out yesterday! And I especially love that the paint was only $7.99, and I didn't even use the whole jar. Gotta love sprucing up your space for next to nothin'!
Now if you'll excuse me, I am going to go see where else I can use this paint in my house... ;)


You are HILARIOUS!!! Love this post... PS Saw you were on Pinterest now... this is bound to be your new crack... haha cannot wait to see what else you DIY!!! :)
ReplyDeleteI think you are right, Abs! Still gotta figure out how to use it though. Stay tuned... :)
ReplyDeleteLooks great! I'll be on the lookout for pics of Lola covered in the paint :)
ReplyDelete